If you just wanted to know if microgreen seeds were different from regular seeds, the answer is technically no. However, if you want to know more about what precisely a microgreen is, why some seed packets are marketed as microgreen seeds, why growing your own can be better than buying in-store, and other useful information about microgreens, then keep reading.
Growing microgreens from seeds is a beautiful way to make sure you always have something healthy to add to the dinner table. Microgreens are nutritious, unique, and delicious plants to grow yourself or purchase in the store.
There are many varieties of microgreens, and each has its unique flavor and growing process. Due to the way microgreens are marketed and packaged, many people might think that microgreens are a unique strand of a plant. However, contrary to popular belief, microgreens are not technically any different than a plant you would use to grow to full size.
What Are Microgreens?
Microgreens have not legally defined the way some other greens are. However, typically the way a microgreen is defined is when a green, vegetable or otherwise, reaches the point just after the cotyledon leaves have developed.
Some greens will be left to grow until just after the first “true leaves” appear. This means that a microgreen is like any other plant that you are growing, but the distinction comes through the method of growing and the point of harvest.
This small distinction is what sets them apart from sprouts, baby greens, and fully grown plants.
Microgreens typically take anywhere from seven to twenty-one days to grow. This means that microgreens, as the name implies, are tiny. The exact size varies depending on what plant you are growing, but typically they are anywhere from 1” to 3,” but some can be larger.
After they get bigger than this, most people will no longer classify them as a microgreen. Do not let their small size trick you though, these tiny plants pack quite the punch. Some research has shown that microgreens have higher nutritional density than their fully mature counterparts and are sought after by many chefs due to their unique flavor profiles.
How Can I Get Microgreens?
With all these great benefits and opportunities that come with microgreens, you probably want to know how to get some. That will depend on what specific microgreen you are looking for.
While they have continuously grown in popularity since they were first introduced in the California kitchen scene back in the ’80s, not all varieties of microgreens are readily available to purchase.
However, you should be able to find the more popular varieties at your local grocery store regardless of where you live. If you decide to go the route of purchasing microgreens at the store, though, you will quickly notice that they can be expensive.
Luckily, if you do not want to spend the high cost of buying in-store, you can grow them at home with a few tools
How Microgreen Seeds are Different than Regular Seeds
If you plan on growing your own microgreens, there will be a whole slew of factors to consider from which greens you are growing, how long they need to grow, how much light they need, treated, or untreated seeds, and much more.
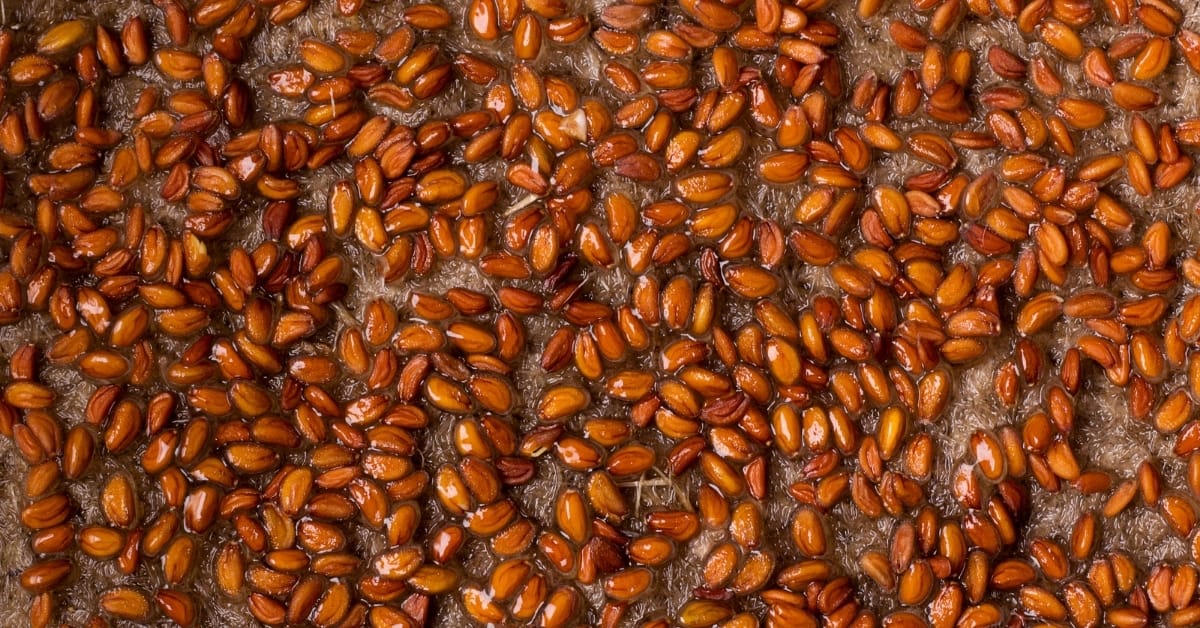
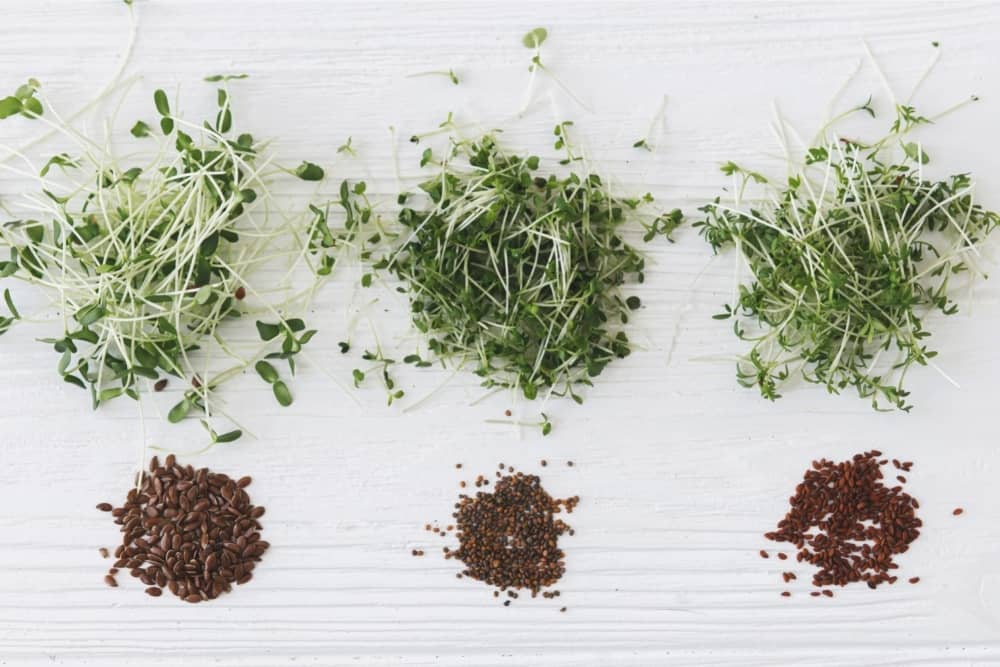
However, the first thing you will need is your seed. Which seed will, of course, depend on what microgreen you are growing. I will cover some of these factors a little later, but for now, let’s talk about why you may notice some seeds marketed as microgreen seeds.
As stated at the beginning of this article, microgreen seeds are technically no different from “regular” seeds. This means that you can use a regular broccoli seed to grow microgreen broccoli.
A package marked as a microgreen seed might have to do with the breeding patterns that have led to a particular packet of seed. Some suppliers will have certain plants that have been bred and have yielded higher germination rates.
The process behind this is far more biologically involved than can be covered in the scope of this article, but what matters is that this higher germination rate might yield more successful results when growing your microgreens.
Microgreens and Sprouts: Why this is an Important Comparison
As stated above, microgreens are a specific step in the growth process of a plant. Sprouts are also a specific step in a plant’s growth process, but it occurs before microgreen forms.
While a microgreen may take anywhere from seven to twenty-one days to grow depending on what is being grown, a sprout usually takes from two to seven days to develop. This means that a sprout is a smaller step in the growing process.
Besides the time and size difference, though, what actually constitutes a sprout or a microgreen is different as well. A sprout is the entire growth of the plant with the roots included and has no leaves. On the other hand, a microgreen is just the stem and the leaves and is clipped above ground to eat.
Additionally, sprouts are legally defined by the FDA and have more regulations than microgreens. This is because sprouts have a higher risk of microbial contamination compared to other greens.
Types of Microgreen Seeds Available
It might seem that microgreens can be grown from the seeds of regular plants and vegetables that any green can be a microgreen. However, not all plants are suitable for microgreen growth.
The exact reason for this varies from plant to plant, but do not worry; there are many options for what you can grow safely and successfully. The main families that you can grow microgreens from, according to this article, are these.
- Amaranthaceae family: amaranth, beets, chard, quinoa, and spinach
- Amaryllidaceae family: includes chives, garlic, leeks, and onions.
- Apiaceae family: carrot, celery, dill, and fennel
- Asteraceae family: chicory, endive, lettuce, and radicchio
- Brassicaceae family: arugula, broccoli, cabbage, cauliflower, radish, and watercress
- Cucurbitaceae family: cucumbers, melons, and squashes
- Lamiaceae family: most common herbs like mint, basil, rosemary, sage, and oregano
- Poaceae family: grasses and cereals like barley, corn, rice, oats, wheatgrass, and legumes
Growing these microgreens vary significantly in the length of time needed to reach a point of harvest, difficulty in growing them, the process of growing them, and of course, taste.
While you are welcome to try your hand at growing any microgreen that interests you, I will go over some of the more popular ones and some of the easiest to grow.
Popular and Easy to Grow Microgreens
As with any new hobby, each step of growing microgreens has more factors to consider. The most popular and easiest to grow microgreens will vary depending on what type of microgreen you are trying to grow.
The most popular flower microgreen will be different from the most popular vegetable microgreen, and both will be different from the most popular herb microgreen. So, I will break them down into sections.
Common Microgreen Vegetables
I have a fresh, healthy veggie to snack on; it always a good thing. Especially in a time like this when going to the grocery store isn’t always an option. Here are just a few microgreen vegetables that you can very easily grow at home.
Radishes
Radishes are one of the most popular vegetable microgreens to grow and one of the most popular microgreens in general. They are easy to grow and grow quickly.
They typically germinate within a day or two and are ready for harvest in six to ten. Harvesting on the earlier side will result in a crunchier texture. This microgreen will yield a plant that is mild and spicy in flavor. It is an excellent first microgreen to try growing.
Broccoli
Broccoli is a microgreen that results in a milder and slightly more bitter broccoli taste. Though not quite as fast as radishes, it grows quickly, typically being ready for harvest no sooner than seven days after planting.
It is high in iron, vitamin c, and vitamin a. They are classified as a milder microgreen along with cauliflower, basil, beets, and several others.
Arugula
Arugula is another quick grower. Typically, they take no more than three days to germinate and no more than seven days to be ready for harvest.
An arugula microgreen has a sharp peppery taste that is great in mixed salads. As you grow them, the peppery taste will diminish so that you can grow them to your desired taste.
Carrots
Carrots, while being one of the more popular microgreens out there, is actually one of the slowest growing. Typically, carrots will take around seven days just to germinate!
Several microgreens are ready for harvest at this point. Carrots then take around another four weeks before they are ready to be harvested. These will result in a mild, earthy taste similar to its fully mature counterpart.
This is by no means an exhaustive list of popular vegetable microgreens, and definitely not a complete list of the available vegetable microgreens out there.
It is essential to keep in mind that while some microgreens are common or popular, they are not necessarily easy to grow. Carrots are very common microgreens but are some of the more difficult and slower options to grow.
Common Microgreen Herbs
Herbs are just as easy to grow as microgreen veggies, if not easier. The smell of fresh basil alone is a good enough reason to grown microgreen herbs. While growing these is simple, they’ll provide complex flavors when you add them to any dish.
Basil
Basil is one of the most popular microgreen options and has many varieties to choose from. Some types will be lemony, while others may be strong and sweet.
Since there are several basil varieties to choose from, there is also a variety of growth time needed. However, basil typically grows quickly and prefers temperate climates. If you live somewhere colder and plan on growing basil, it is best to do so in the summer.
The last thing to keep in mind is that basil should not be pre-soaked and should not be clumped together when planting. When basil seeds get wet, they form a gel-like substance that will inhibit growth.
Sorrel
Sorrel is one of the bolder microgreen options. It has a strong sour lemony flavor that can add a nice tartness to your dish. It is one of the easier microgreens to grow, although it takes a little longer to develop.
Typically the germination period for sorrel is around two days, but the time to harvest can be anywhere from ten to twenty. Sorrel is a very common microgreen; in fact, you may have seen it before and confused it for a clover.
Lemongrass
Lemongrass has a mild and lemony aroma. It works well in contrast to sweeter dishes but has been used widely in cooking. Germination time for lemongrass is usually between two and three days, and the time until harvest is typically around two weeks.
Just like the vegetable list, this is not an exhaustive list of the most common microgreen herbs. You know most herbs, such as mint, rosemary, sage, and oregano, have microgreen forms.
Common Microgreen Flowers
Fresh flowers can dress up any space. They also tend to make the house look cleaner than it is, which is my favorite trick. Growing your microgreen flowers is easy peasy.
Sunflowers
Sunflowers are an excellent beginner microgreen and one of the most popular. Sunflowers are rich in nutrients and yields a crunchy, nutty, mildly sweet plant.
They grow quickly with germination usually occurring within a day or two and ready to harvest in around a week to twelve days. Sunflowers should be pre-soaked before planting for the best results—an excellent addition to any salad mix with great nutritional benefits.
Marigold
While marigold is not typically used in cooking, it is a common addition to mixed drinks. It gives a zesty tangerine taste with a little bit of spice. It is straightforward to grow and typically grows quickly.
Germination time is around three to four days, and it is ready to harvest by ten days.
As with the vegetable and herb list, there are many more microgreen flowers to choose from.
Which Microgreen Seeds Should You Avoid?
There are plenty of options for microgreens you can grow, but as stated earlier, some plants are not suited to be grown as microgreens. Lettuce is typically too delicate to be grown in a microgreen setting and usually end up wilting.
It is possible to grow, but they are typically best to avoid. Fruits are not good options for microgreens either. Fruits plants are harvested for their fruits. The stems and leaves of these plants usually do not have a flavor or nutritional value worth harvesting.
Lastly, and perhaps most importantly, to avoid are plants that produce inedible or toxic stems and leaves. These include but are not limited to potatoes, tomatoes, and eggplant. Make sure to do your research before trying to experiment.
Why Should I Grow Microgreens from Seeds?
At this point, you might be starting to feel overwhelmed with how many options there are out there, and I cannot blame you. This is without even considering the specific growing practices and tools need to grow your own.
However, before you decide to buy your microgreens in store, there are many benefits to growing your own.
If you have purchased microgreens in-store before, you undoubtedly have noticed how expensive they can be.
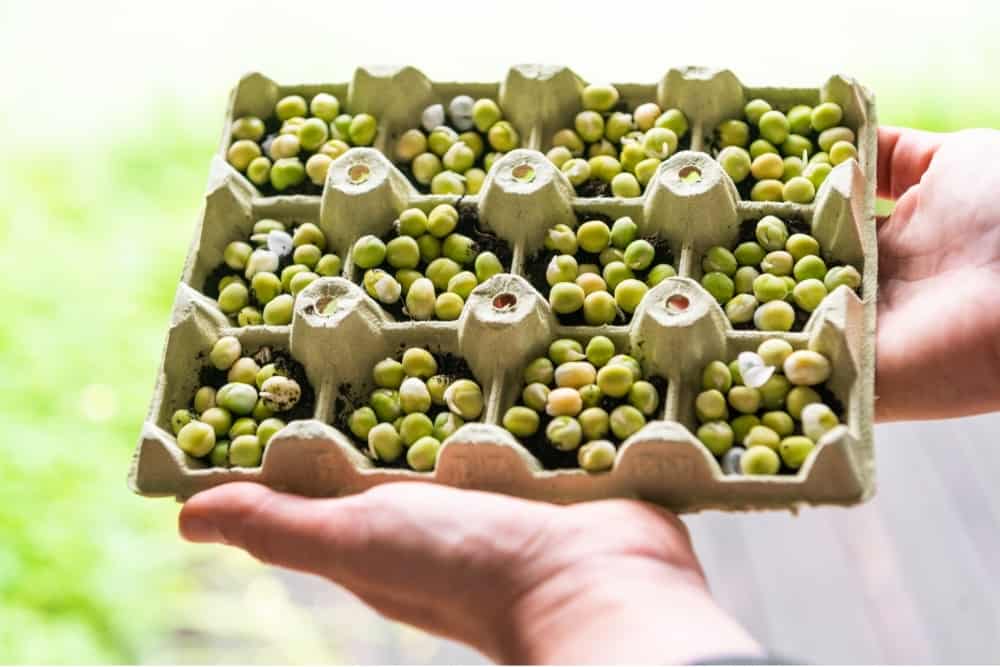
This is because the tools and setup needed to grow microgreens are specialized and because microgreens produce a much smaller yield than their fully-grown counterparts. Microgreens are typically planted in high quantities and are densely packed in their growing trays.
This results in small bushy masses that can then be harvested. However, while the specialized nature of growing microgreens makes them more expensive to buy, it can also benefit you if you sell them.
Health and Wealth
You read correctly, you can sell microgreens, and many people do. One of the nice things about the specialized nature of growing microgreens is that they are small, as the name implies. This means that even with a small location, you can grow microgreens successfully.
Additionally, because microgreens have such a short growth cycle, you can produce them rapidly. Microgreens have a large market, and it is not uncommon for individual growers to form relationships with restaurants and their chefs as their supplier for microgreens. It might even be possible to have a business deal with your local grocery store.
The high price of microgreens means that you could make a decent return growing your own even with a small operation.
Besides saving, and potentially even making money from growing your microgreens, they also offer many health benefits. As I have already covered earlier in this article, microgreens are rich in various nutrients, minerals, and vitamins in varying amounts, depending on what you are growing.
This means that microgreens could improve your heart health, supplement your daily vitamin intake, and provide various other health benefits. Along with this, though, because you are growing the microgreens yourself, you have full control and complete knowledge of what that plant has gone through. This means you know what it has come in contact with, the soil used, etc.… You can make sure your plants meets your standards.
Lastly, growing your microgreens is fun. Because they grow so quickly, you get the joy of growing your edible plants without having to wait a whole season or longer like you would with regular-sized plants.
Additionally, growing them is a straightforward task that you can dig into and get as much out as you put in. Along with the fun of growing them, though, you also get the enjoyment of being able to cook with them. Microgreens can be fun additions to add to the ingredients you cook with and could serve as a basis for branching out into dishes you may not have otherwise cooked.
How to Grow Microgreen Seeds
If you have decided that the benefits of growing your microgreens outweigh the convenience of buying them in-store, then you will still have some additional factors to consider.
Don’t worry, though, if you have decided you wanted to grow your own, then this final part will be part of the fun. For starters, you will need to pick what type of microgreen you want to grow. You can choose from some of the previously listed ones, or you can do an online search and pick one that appeals to you.
It is essential to keep in mind that just as there is a considerable array of microgreens to pick from, there are also many specific ways to grow microgreens. If you want to know how to grow your particular plant, I highly recommend finding instructions online.
Words to Know
However, there are some basic terms you may encounter and some necessary tools you will need. Let’s cover the seed terms you might encounter.
Microgreen Seeds
Some seeds may be specifically bred to yield better results based on the method you plan on using to grow them. Keep an eye out and carefully read labels.
Treated Seed
These are seeds that have been treated with fungicide or some other similar substance. Larger farms more commonly purchase these, but you may encounter them. They will be marked clearly by having the word “treated” at the beginning of whatever seed type it is.
Pelleted Seed
Some seeds are tiny and difficult to work within their natural state. Pelleted seed is when seeds are coated with an inert clay to make them easier to handle.
Multi-pelleted
These are similar to pelleted seeds, except that multi-pelleted is when several seeds are pelleted together.
Open-pollinated
This just means that the plant was allowed to pollinate and reproduce without assistance. Think bees, birds, winds, and the like.
Supplies
For supplies, there are some essential tools that you will need. You will need exactly will vary depending on whether you plan to grow your microgreens indoors or outdoors.
Light Source
If you are growing outdoors, you don’t need to worry about this. However, if you plan on growing indoors, you have a variety to choose from. You can find ones with timers, varying levels of lumens, and different bulb styles, such as fluorescent or LED.
1020 Microgreen Trays
These are trays with no holes that are perfectly sized to grow various types of microgreens. They are typically reusable and can be used to tamp down soil occasionally.
Soil
It is best to have soil that does not have large particulates. The topic of soil could be an entire article, but doing your research and running your own trials will ensure you are getting the kind that best suits your needs.
Miscellaneous
You will need water and a spray bottle, but that is true for growing any plant. You can also get things like heating mats for your plants if you live in a colder climate, small measuring glasses to measure out your seed ounces, and any other additional tool that you may want. But that is optional.
Each microgreen will grow slightly differently. I highly recommend doing your research on your specific type of green to ensure the highest success rate. The basic process for planting will be the same for most microgreens, though.
Get Growing
- To start, if your particular type of microgreen requires it, you will soak your seeds in water.
- Then you will sow your seed. It is important that you get an even spread over your soil and don’t get clumping.
- Water your seeds as recommended (this will start the germination process.)
- Wait for your seeds to germinate. At this point, your seed may need a “blackout” time where it is not being exposed to light. To do this, you can stack a tray on top of the tray with your sowed seeds.
- Once the seeds have started to grow, make sure they are getting their recommended amount of light and water to ensure the best results.
- Once they get to their specified height for harvesting (this depends on the individual plant), you can use scissors or grass shears to collect them.
- During the growing process, one of the main issues to look out for is mold. Keep a close eye out for it and treat it if possible.
- It is possible that the mold will go beyond repair, and you will have to scrap a whole tray, but since they grow so quickly, it is easy to start again.
- As long as you look into your specific microgreen, you should have no problem producing a delicious and nutritious plant that you can store, sell, or cook with.
Final Thoughts
Growing microgreens is a fun way to save money and eat better. Two things that so many people are looking to add to their lives. The seeds and tools are inexpensive, and some of the required supplies are things you might already have on hand at home. Now is a great time to start growing your own microgreens from microgreen seeds.